This guide walks through every major section of GoHighLevel in the order a new user runs into them. It's based on the platform as it stood in mid-2026. The screenshots are from a real sub-account. Everything here is what you actually click, what happens when you do, and whether it matters right away or can wait.
1. Getting Started — Sign Up and Free Trial
GHL gives you a 30-day free trial. No card needed upfront. Here's how it goes:
- Go to gohighlevel.com and click Start Free Trial
- Enter your business name, email, and a password
- The setup wizard asks a few questions about what you plan to do — pick whatever fits, you can change everything later
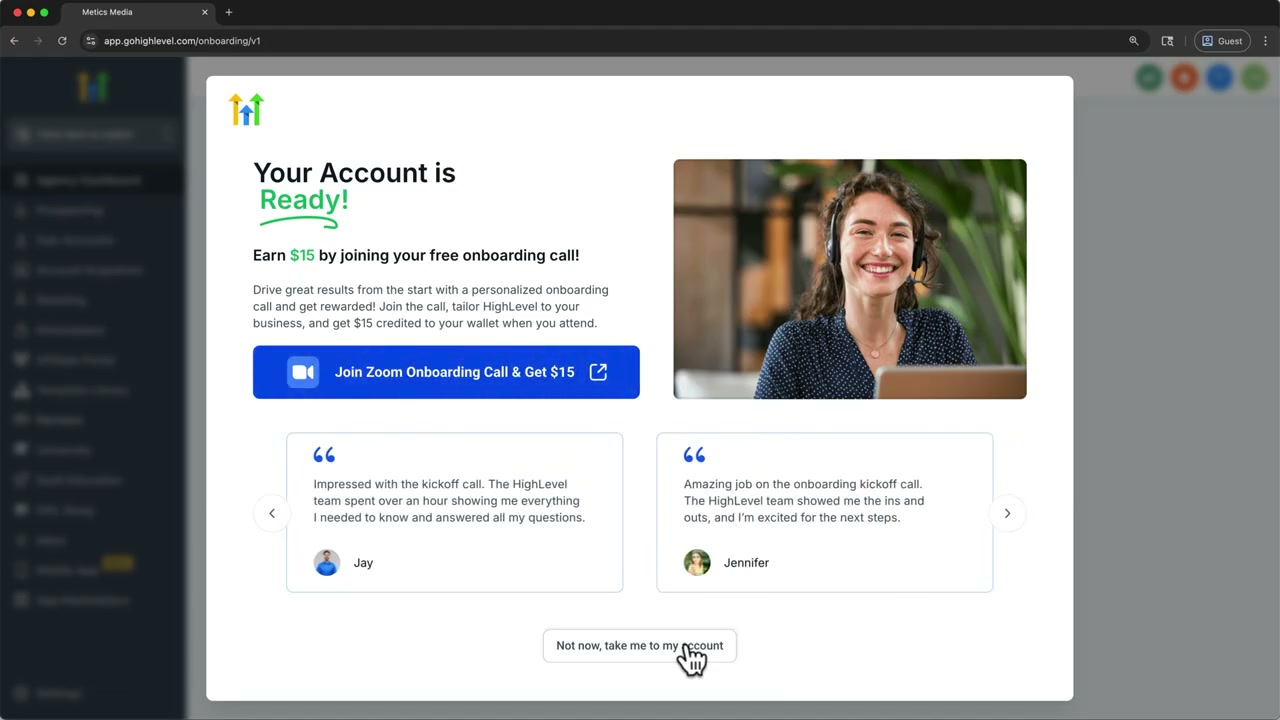
- Click through the onboarding steps, skip the onboarding call credit prompt if you want, and you're in
Once you're through onboarding you need to set up your account branding: company name, logo, timezone, a phone number (you connect Twilio or another VoIP provider), and email sending (Google Workspace, Outlook, or custom SMTP). Do this before you build anything, because everything else depends on it.
2. Dashboard — What You Land On
The dashboard is the first thing you see every time you log in. Three parts:
- Top bar — your profile, account switcher, settings gear
- Left sidebar — the main navigation, this is your command centre
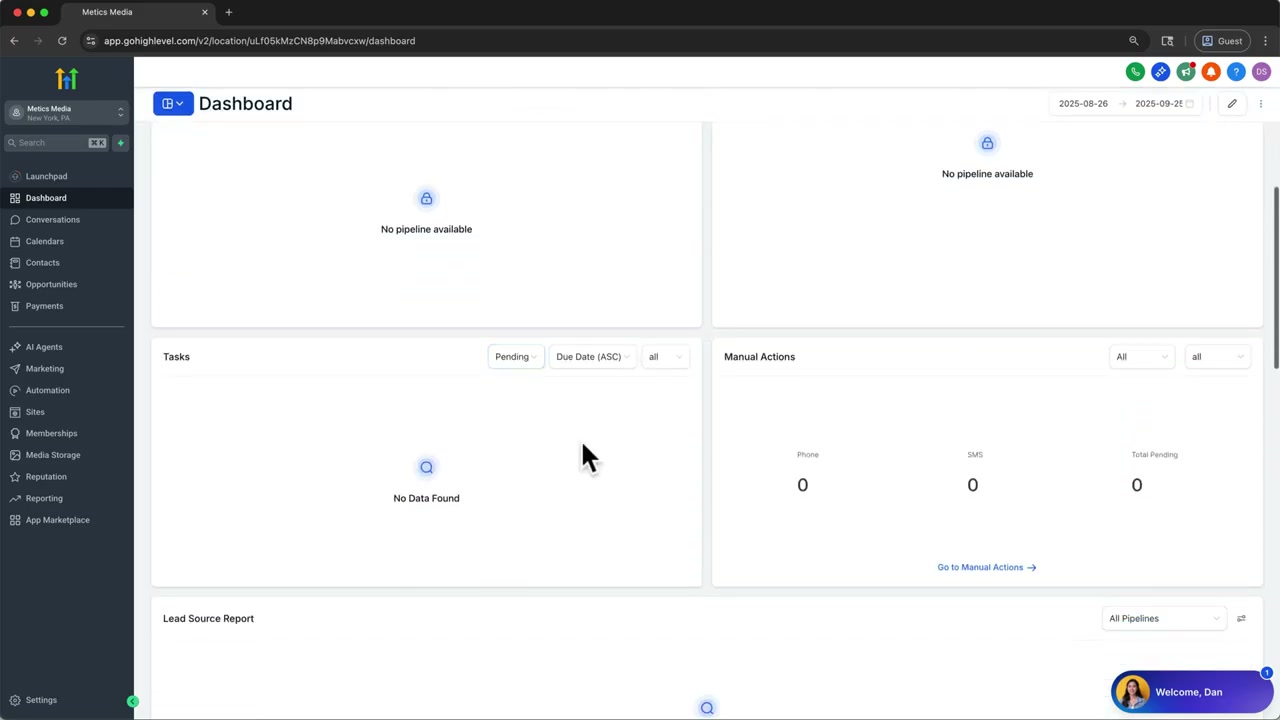
- Main area — widgets showing tasks, appointments, recent activity, Google Analytics data if you've connected it
The sidebar is worth memorising early. These are the sections you will actually use:
- Agency — account-level settings, branding, sub-accounts, white labelling
- Campaigns — email, SMS, voicemail drops, postcards
- Contacts — your CRM, every person you do business with
- Opportunities — deal pipeline, track where each lead is
- Calendar — scheduling links, appointments, team availability
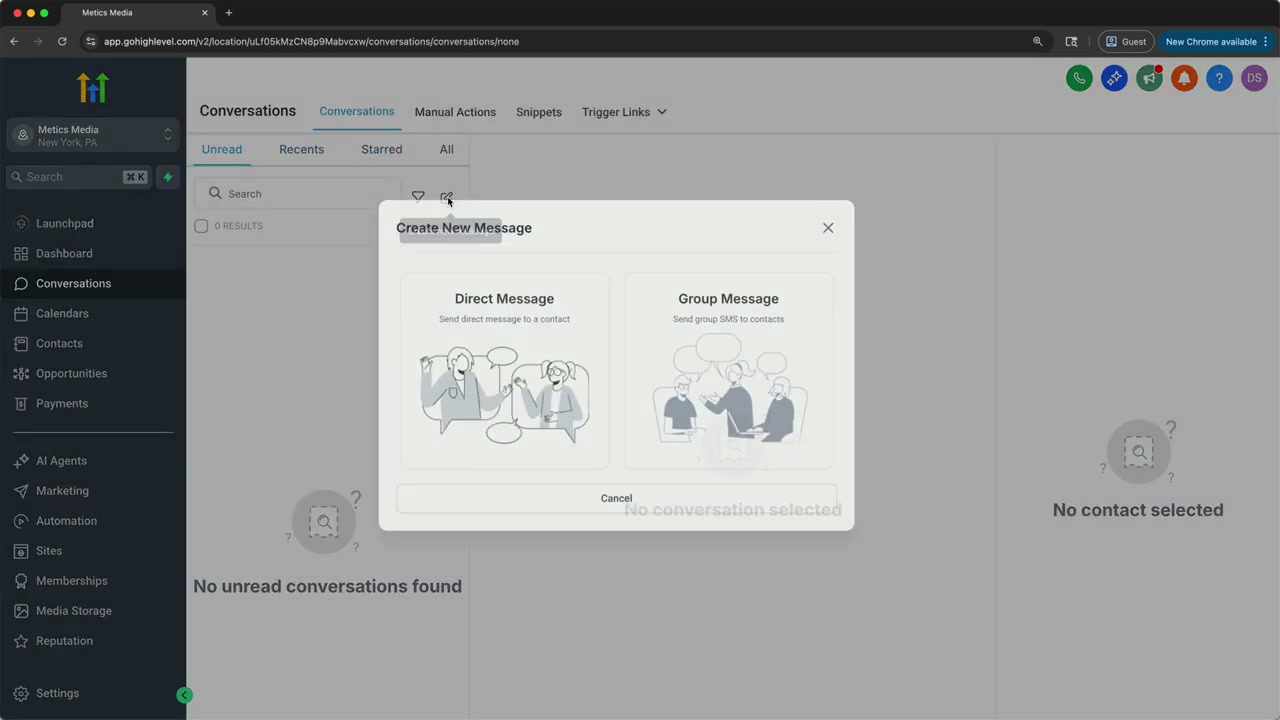
- Conversations — unified inbox for email, SMS, and chat
- Sites — funnels, websites, blogs, ecommerce, membership courses
- Memberships — courses and member-only content
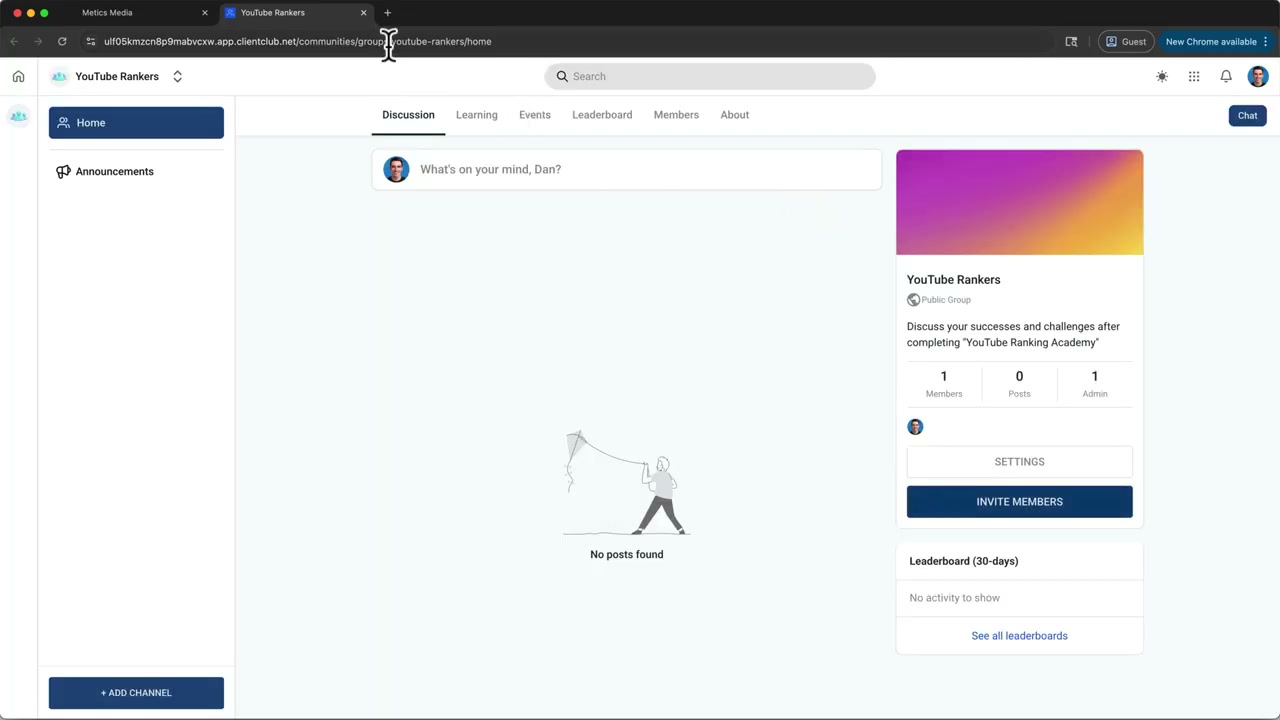
- Communities — private groups for customers
- Workflows — automation builder
- Automation — triggers, reviews, webhook integrations
- Reputation — review requests and management
If you're just starting, focus on Contacts, Opportunities, and Workflows. That's the core loop. Everything else builds on top of those three.
3. Contacts — The Foundation
Contacts are where every email, call, deal, and automation connects back to. Get this right first.
Adding a Contact Manually
- Click Contacts in the left sidebar
- Hit Create Contact (top right)
- Fill in name, email, phone — everything else is optional
- Click Save
Bulk Import from CSV
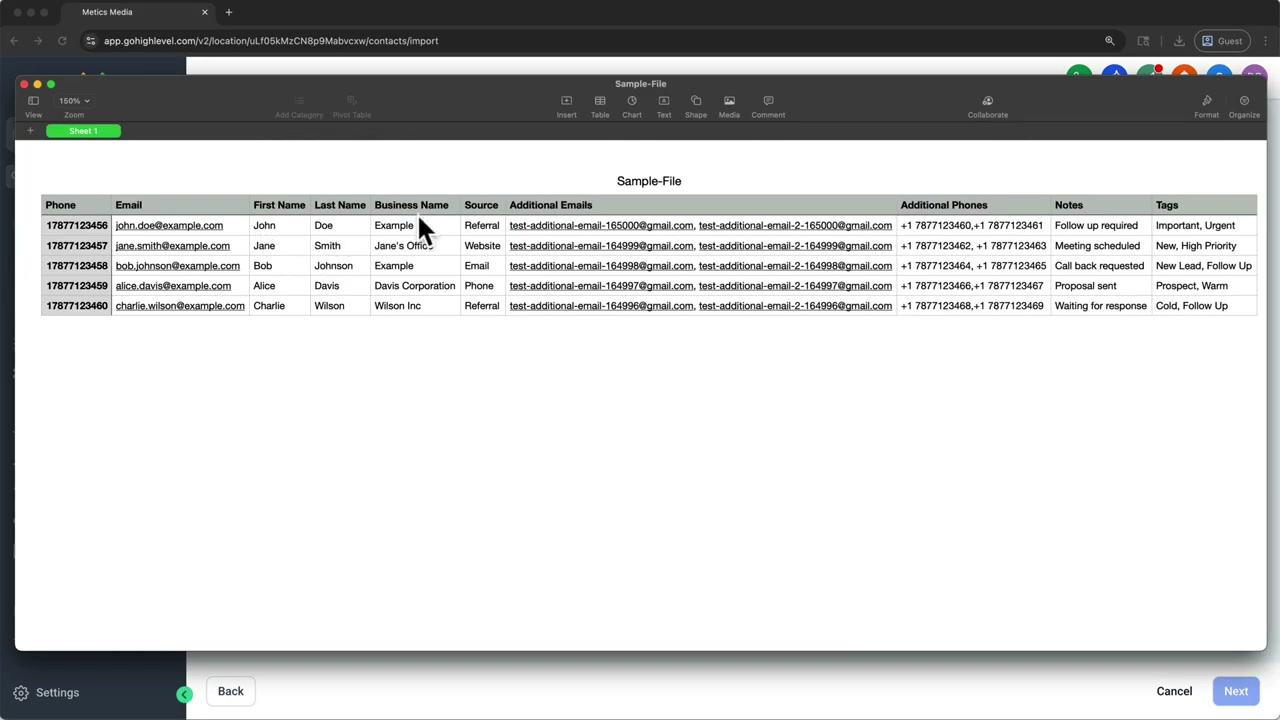
- Go to Contacts, then Import, then Import via File
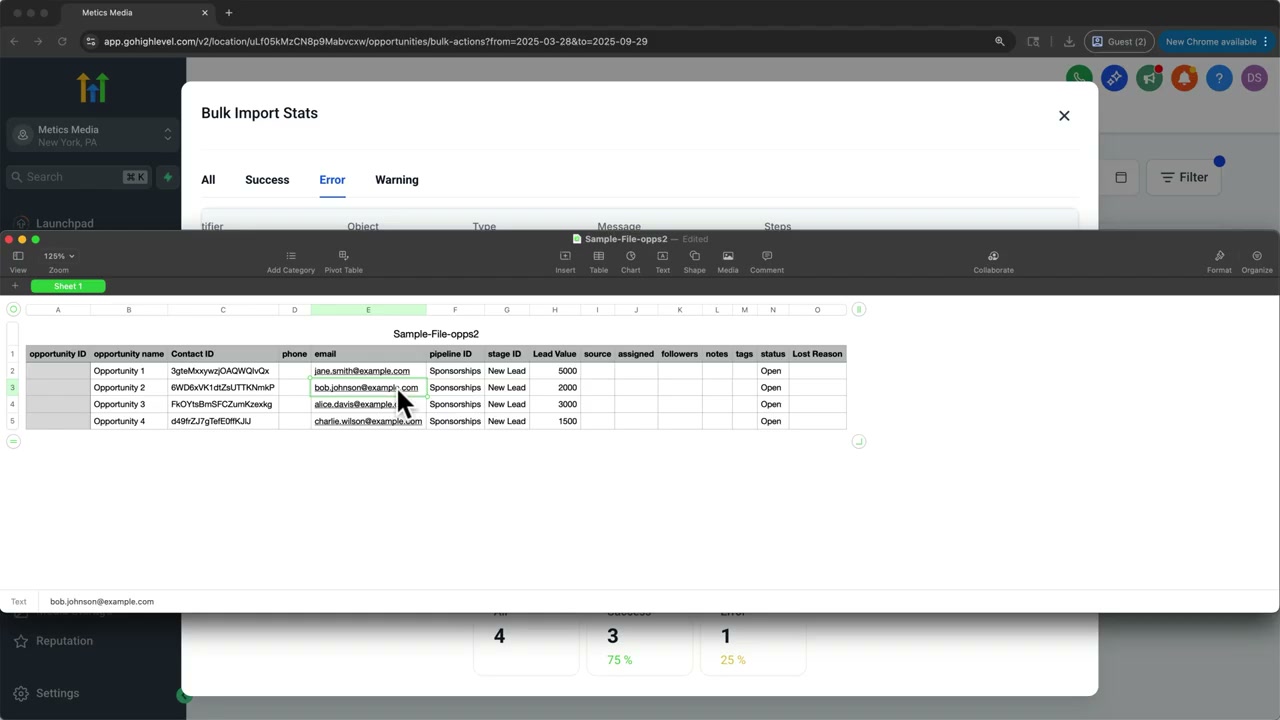
- Upload your CSV — GHL maps fields automatically in most cases
- Fix any fields it could not map manually
- Review duplicates and confirm the import
Custom Fields
- Go to Contacts, then Custom Fields (top right)
- Click Add Custom Field
- Pick the type — text, number, date, dropdown, multi-select, yes/no
- Name it and set visibility (private or visible to the contact)
One custom field worth setting up: Preferred Contact Time. A simple dropdown so your team knows when to call each lead. Takes 30 seconds and saves a lot of awkward phone tag.
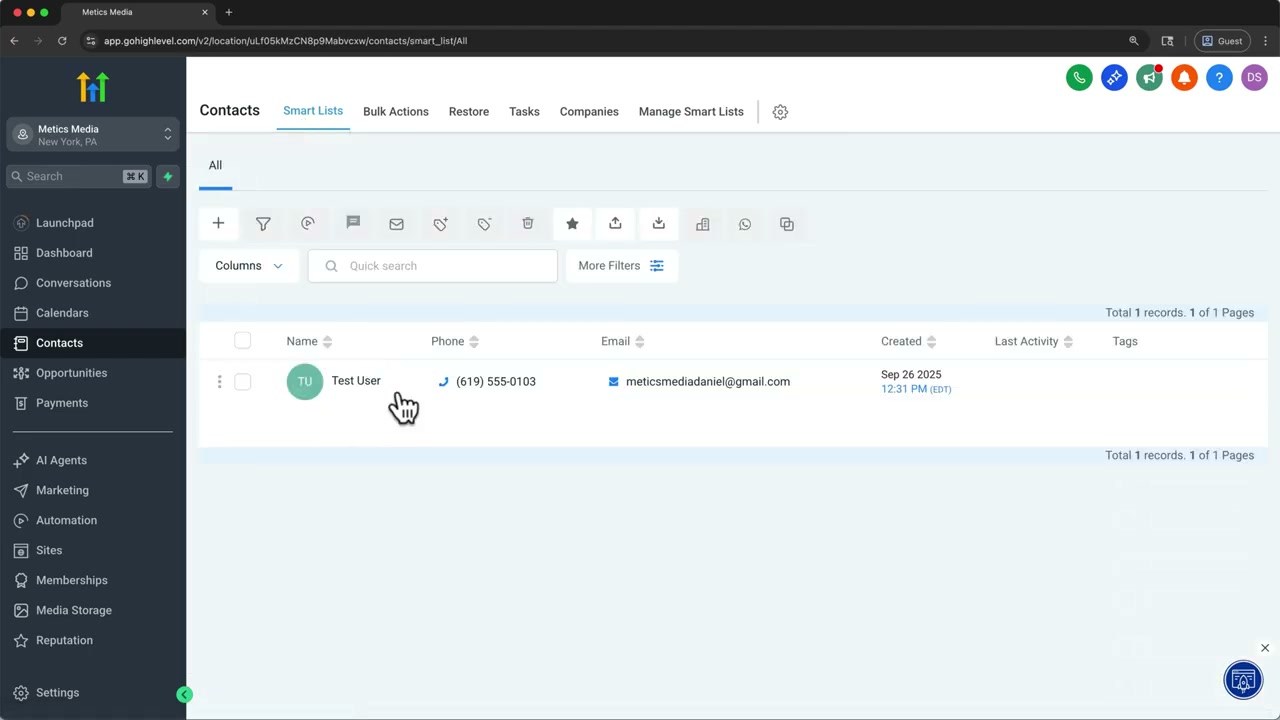
Every contact record shows you a timeline of every interaction, their details and custom fields, their attached deals, and their conversation history across SMS, email, and chat. Use Filters to segment by tags, custom fields, pipeline stage, or date added.
4. Pipelines and Opportunities
Pipelines track where each deal is. A visual board of your sales process.
Creating a Pipeline
- Go to Opportunities, then the gear icon, then Create Pipeline
- Name it — Sales Pipeline, Recruitment Funnel, whatever fits
- Add stages: New Lead, Contacted, Qualified, Proposal, Closed Won, Closed Lost
- You can have multiple pipelines for different types of business
Adding an Opportunity
- Go to the Opportunities tab
- Click Add Opportunity
- Select a contact, set the pipeline and stage, add a deal value
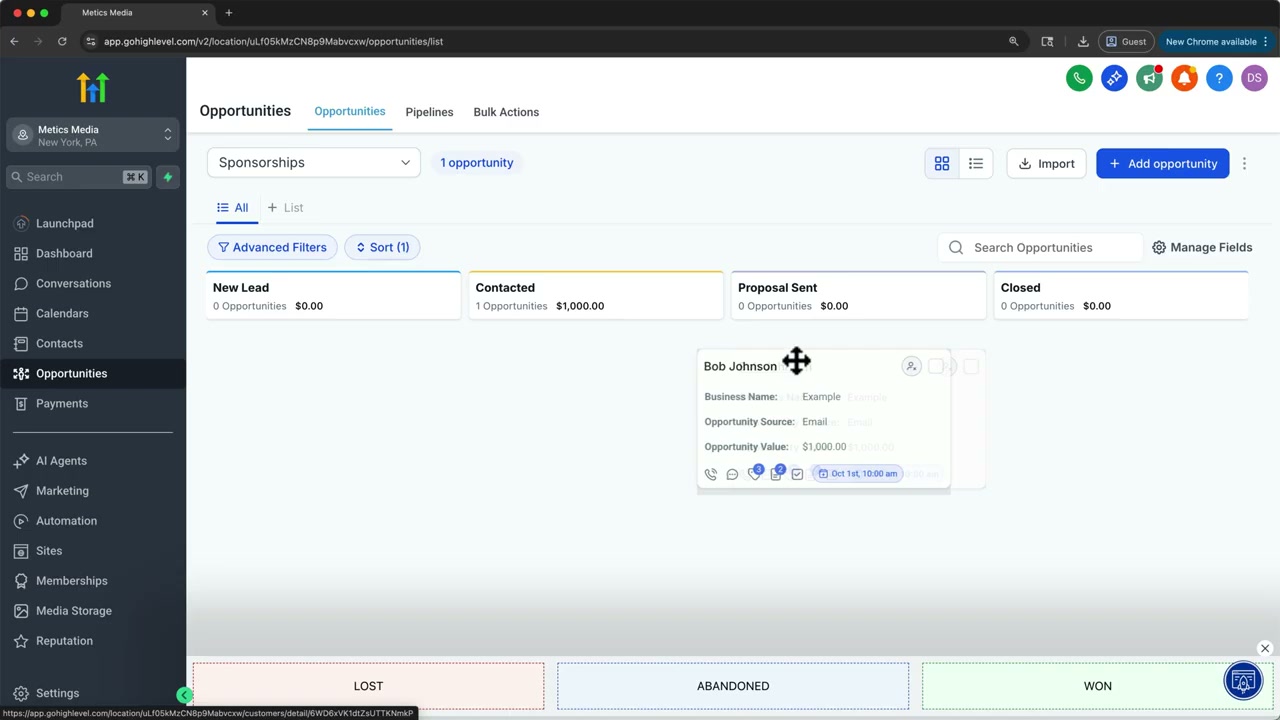
The Kanban view lets you drag opportunities between stages. Each card shows the contact name, deal value, tags, and last activity. The dashboard populates with pipeline data automatically once you have deals in flight.
5. Email Campaigns
Setting Up Email Sending
- Go to Settings, then Branding, then Email Accounts
- Connect Gmail, Outlook, or custom SMTP
- Verify your domain — this means adding SPF and DKIM records to your DNS
Creating a Campaign
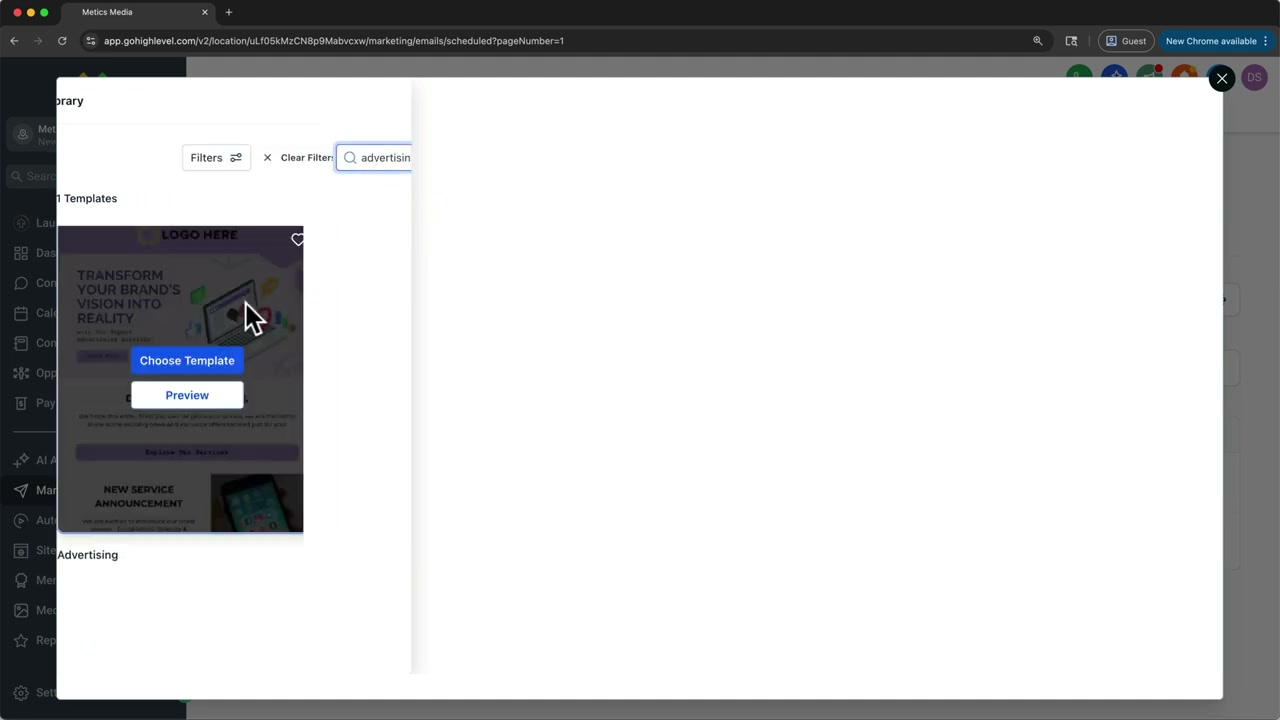
- Go to Campaigns, then Email, then Create Campaign
- Pick a trigger — contact added, tag applied, date-based
- Build your email sequence
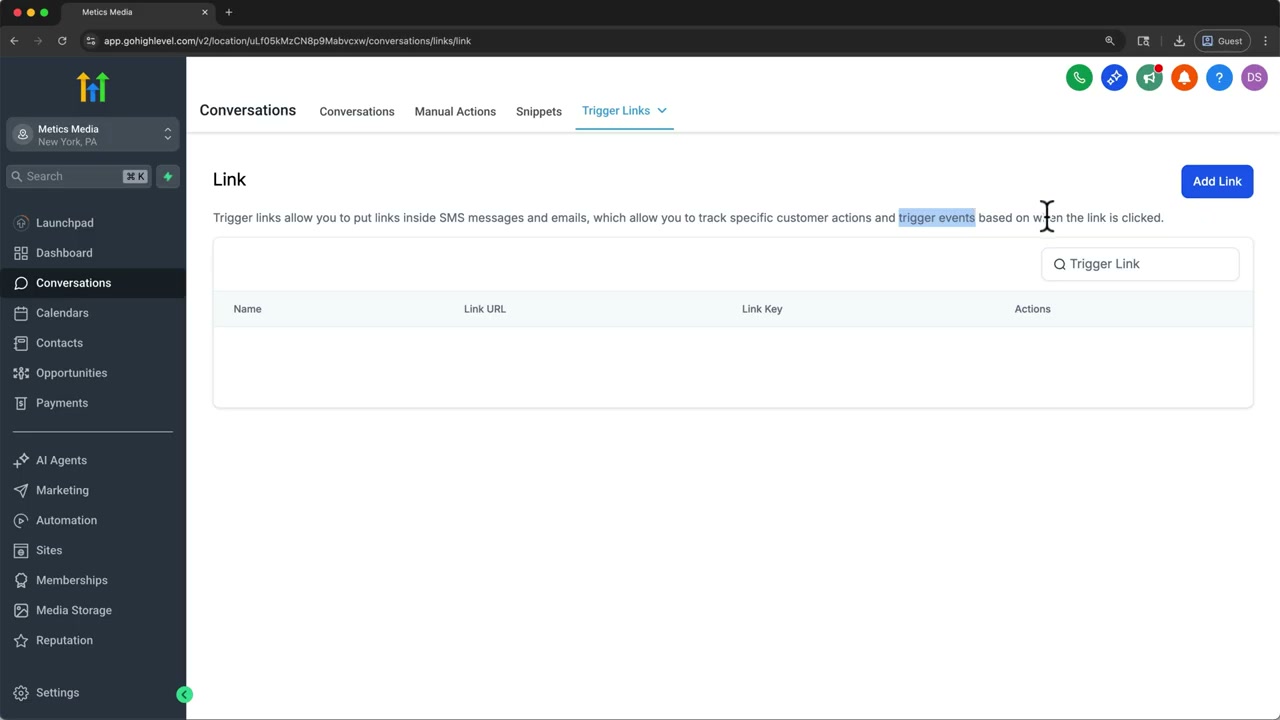
- Use Trigger Links to track clicks — when someone clicks, GHL can fire another action
- Use Snippets for reusable content blocks
Trigger Links are worth understanding early. When someone clicks a link in your email, GHL can move them to a different pipeline stage, send a follow-up, or apply a tag. Snippets work the same way — write a block once, reuse it everywhere, and change it in one place when you need to update it.
6. Calendar and Scheduling
GHL has a built-in scheduler. If you are paying for Calendly separately, this is the feature that replaces it.
- Go to Calendar, then Create Link
- Set the meeting name, duration, available time slots, buffer time
- GHL gives you a scheduling link — send it to clients
- When someone books, it auto-creates a calendar event and a contact record
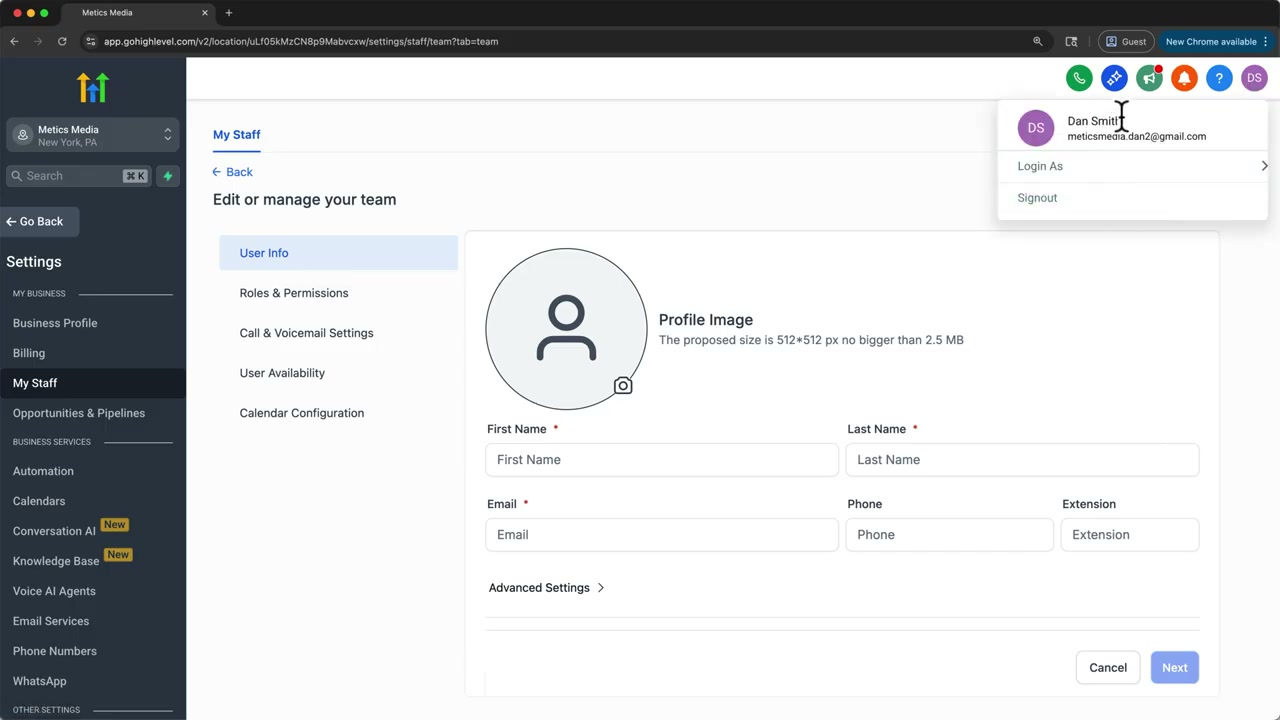
For team setup, add members under Settings then My Staff, and assign them to scheduling links.
7. Conversations Inbox
The unified inbox handles email, SMS, live chat, and Facebook messages in one place. Every message logs against the contact's timeline automatically.
- Status: read, replied, waiting
- Assign: hand conversations to team members
- Snippets and Trigger Links work here too
8. Conversation AI
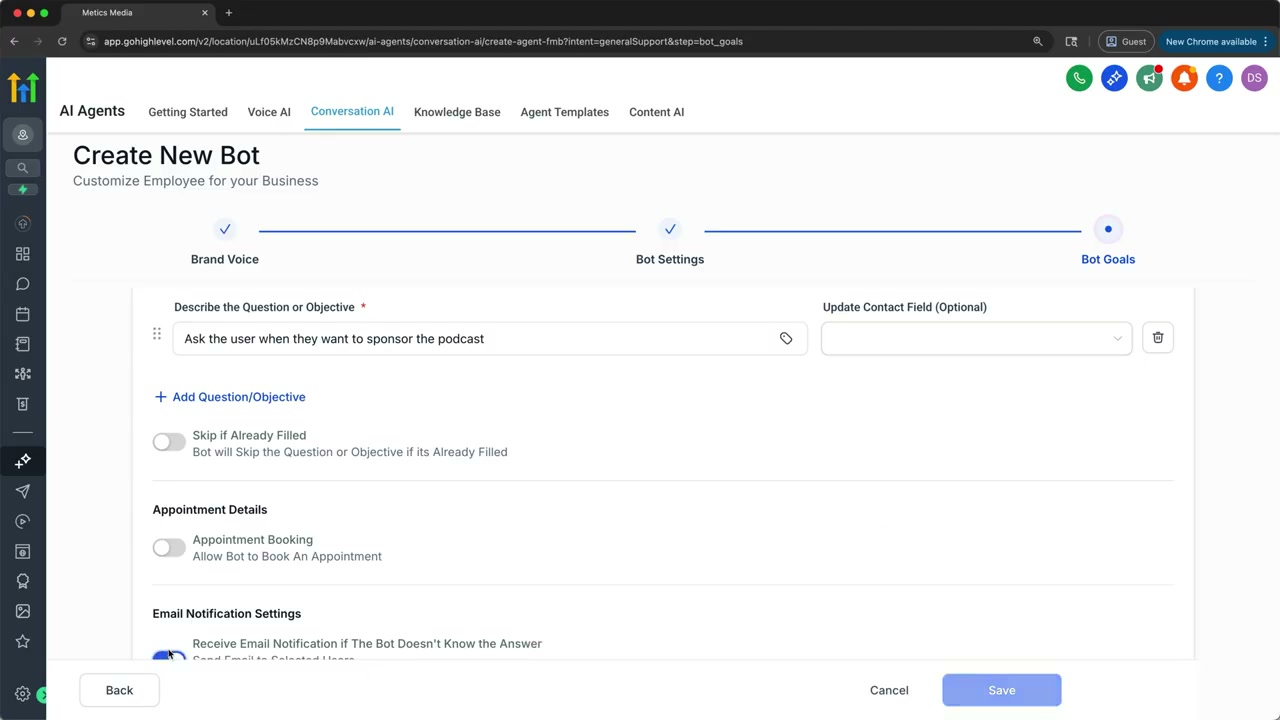
The AI assistant handles initial outreach and answers common questions. It hands off to a human when it cannot deal with the query.
- Go to Conversations, then Conversation AI
- Create an AI agent
- Set its personality and business context — what you do, what you sell, common questions
- Configure what data it can access — products, FAQs, your knowledge base
- The AI handles initial contact and books meetings
- It escalates to a person when it cannot answer
The most useful setup is lead qualification: the AI asks qualifying questions, books meetings for warm leads, and only bothers your team with the ones that pass.
9. Workflows and Automation
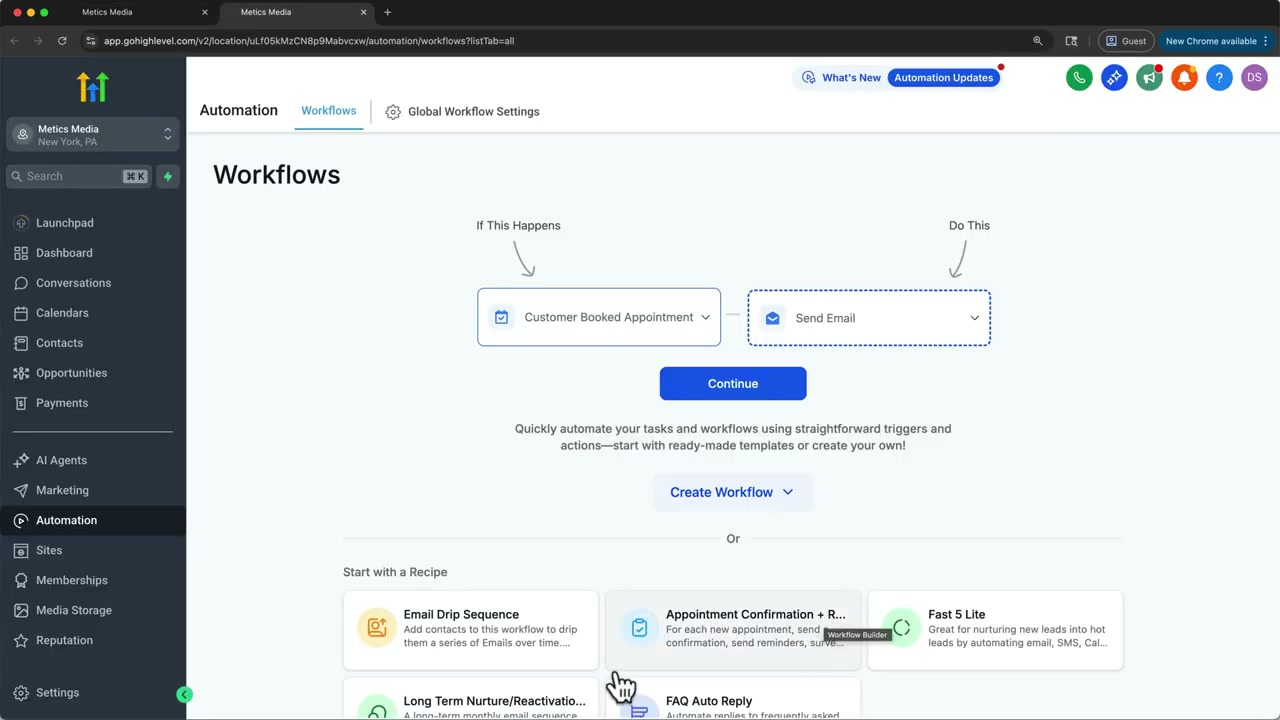
This is where GHL gets its reputation. Workflows automate sequences of actions based on triggers.
Creating a Workflow
- Go to Workflows, then Create Workflow
- Set a trigger — contact created, tag added, form filled, pipeline stage changed, date reached
- Add steps — send email or SMS, update contact, add tag, conditional branching
- Save and activate
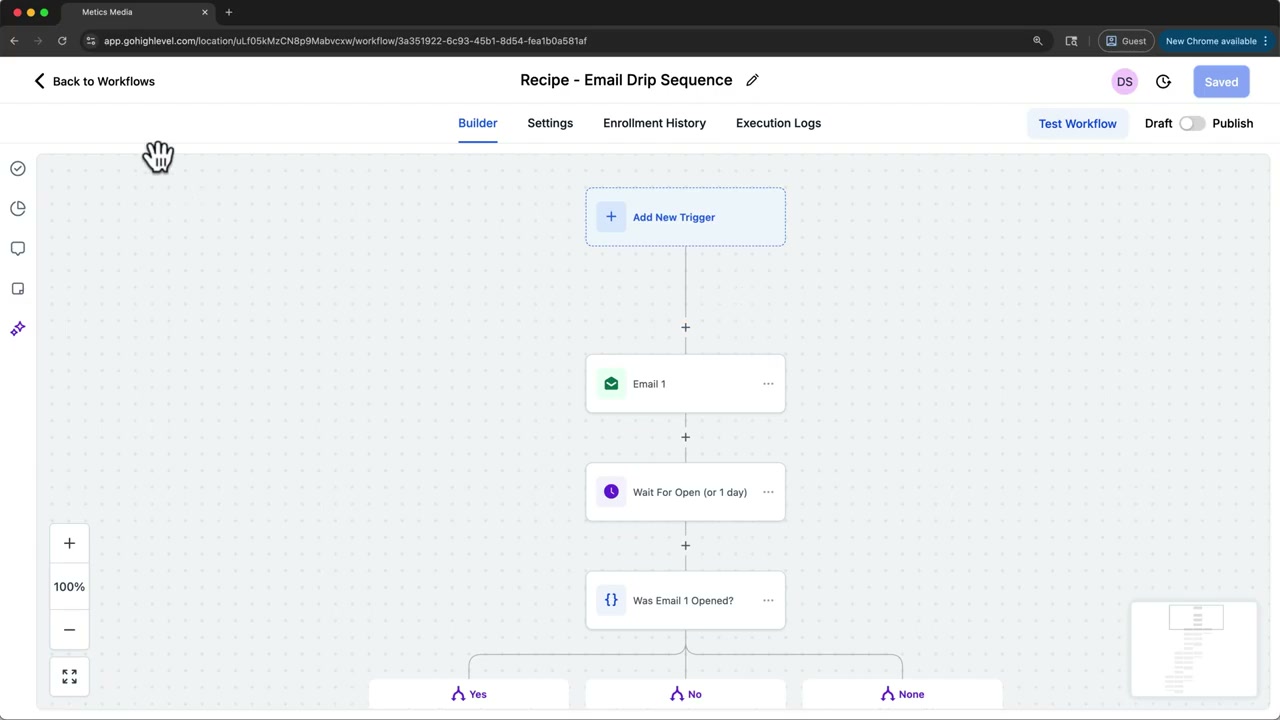
Here is a practical first workflow to build:
Trigger: Contact created
Step 1: Send welcome email
Step 2: Wait 1 day
Step 3: If email not opened, send a follow-up
Step 4: Wait 3 days
Step 5: If still not opened, move to Cold pipeline stage
GHL also has a Build with AI button inside the workflow builder. You describe what you want in plain English and it builds the workflow for you. It works well for simple automations. For complex ones, you will still want to build them manually.
10. Funnel Builder
Funnels are landing pages designed to convert visitors into leads or customers. GHL's builder is drag-and-drop and includes templates.
- Go to Sites, then Funnels, then Create Funnel
- Pick a template or start blank
- Add sections, images, forms with the drag-and-drop editor
- Set up Steps — each page in your funnel flow
- Assign a product from your store at each step
- Publish — you get a GHL-hosted URL
11. Website Builder and Blog
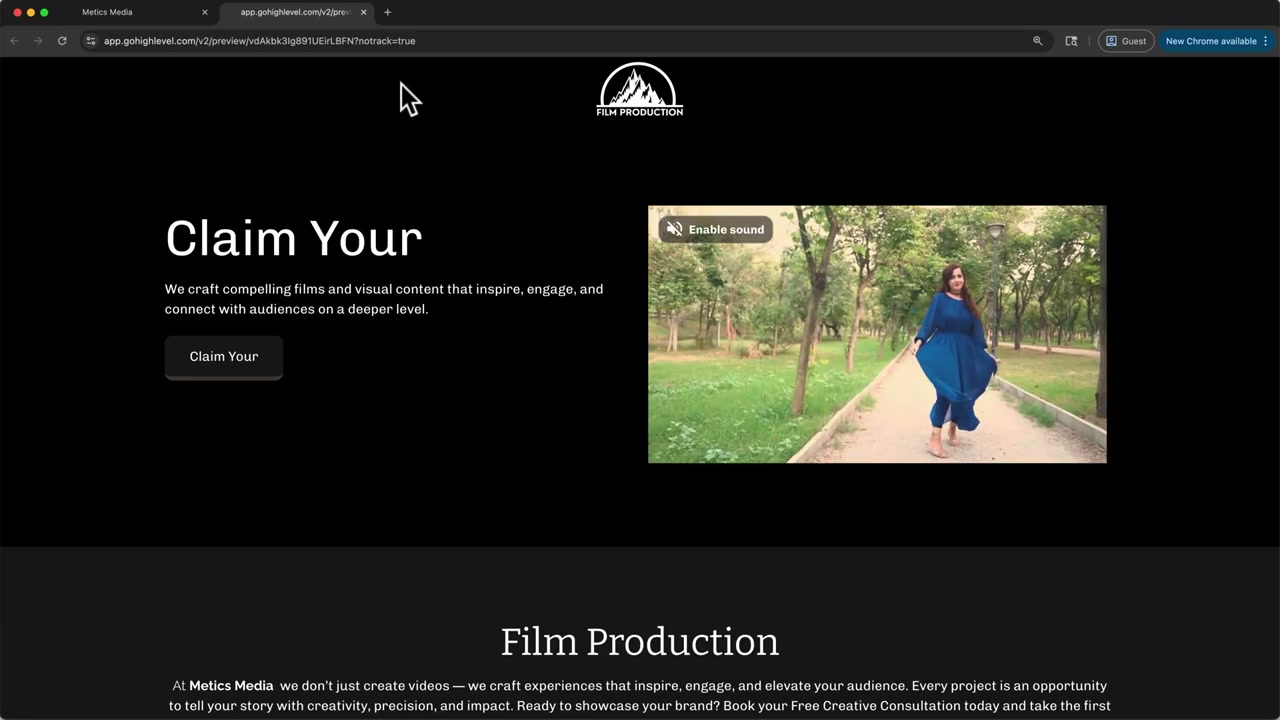
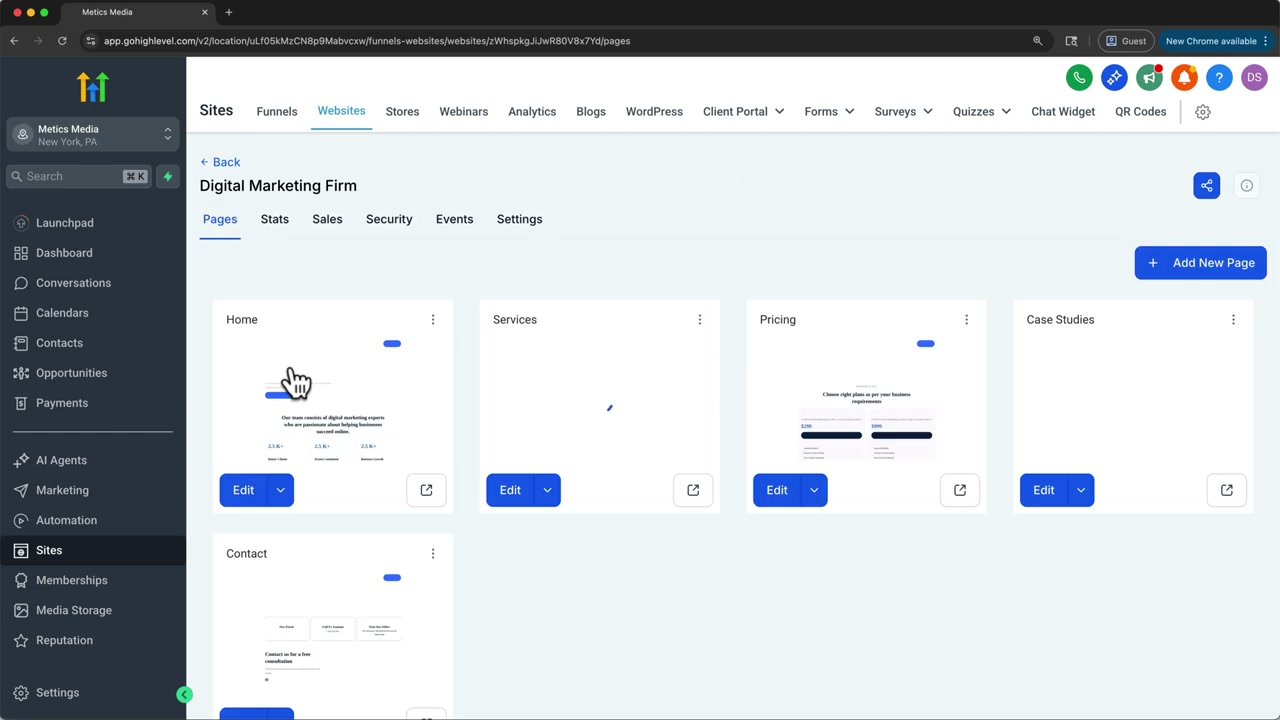
- Go to Sites, then Website, then Create Site
- Pick a template or start blank
- Drag-and-drop elements — text, images, forms, video
- Save and Publish
Blog Tool
- Click Create Blog Site
- Set a title, domain or slug, and description
- GHL handles the hosting
- Write and publish posts from the dashboard
You can enable the chat widget from Settings then Chat Widget. It appears on your GHL-hosted sites automatically.
12. Surveys and Forms
- Go to Automation, then Surveys and Forms
- Click Create Form or Create Survey
- Add fields — name, email, phone, custom questions
- Set notifications to get an email when someone submits
- Configure Actions — what happens after submission
13. Ecommerce Store
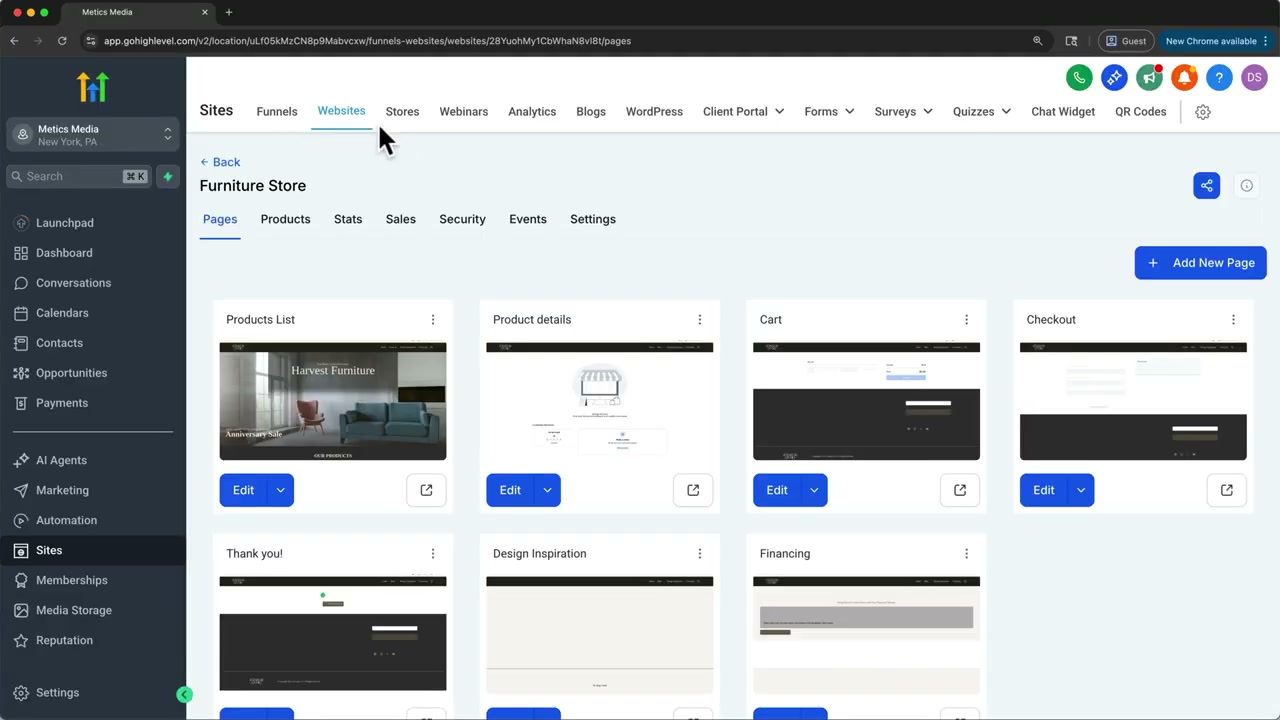
- Go to Sites, then Store
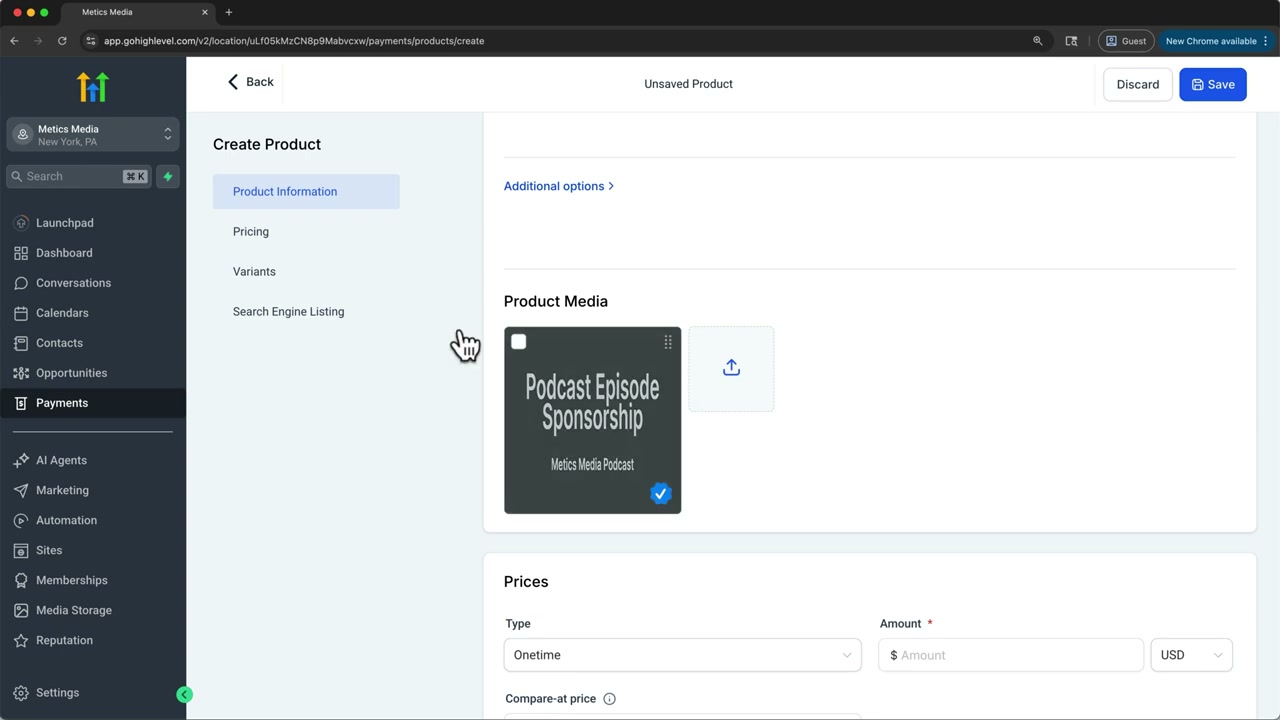
- Add products — name, description, price, images
- Set tax category, variants, discount pricing
- Configure checkout and payment settings
- Publish your store — one-time purchases or subscriptions
14. Community Builder
Private groups where customers connect, ask questions, and share progress. Useful for coaching, courses, or membership businesses.
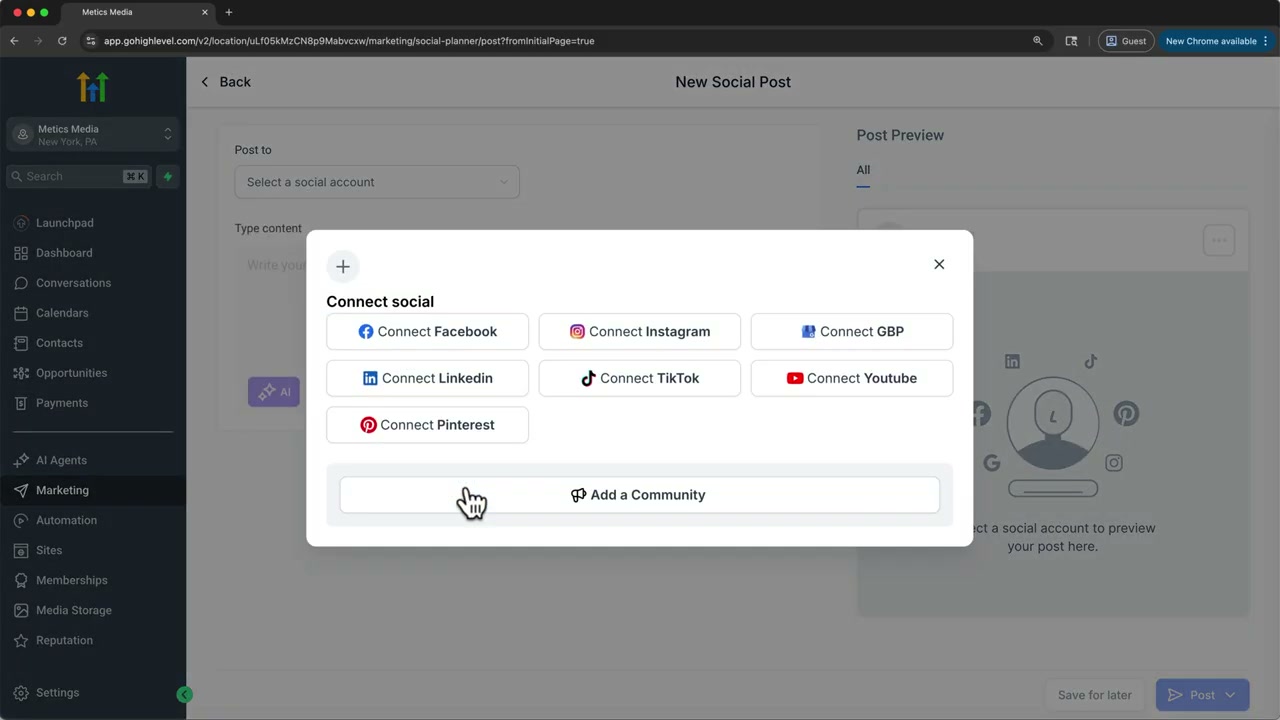
- Go to Sites, then Community, then Create a Community
- Set name, description, and privacy settings
- Invite members or let them join via a link
- Post content, moderate discussions, track engagement
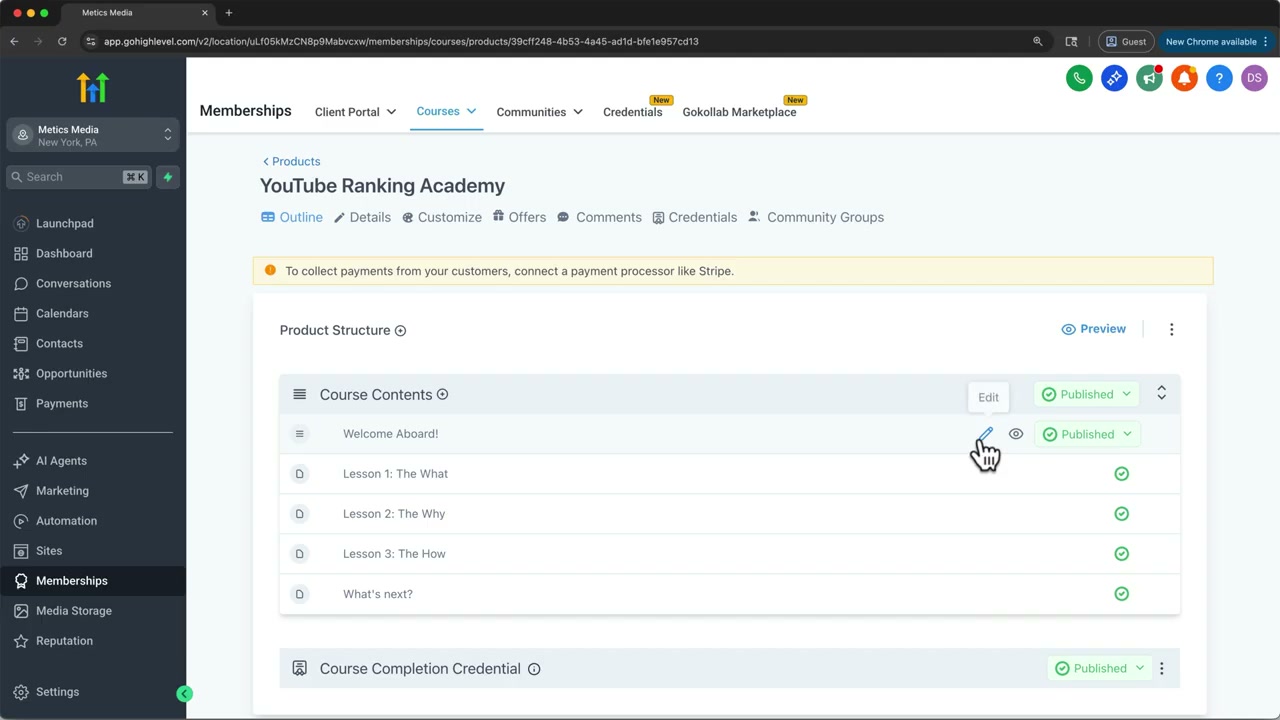
15. Membership Courses
- Go to Sites, then Memberships, then Create Course
- Add modules and lessons
- Set up Offers — pricing, access duration, payment plans
- Enable completion tracking
- Issue Certificates
All course content is delivered through the Client Portal — a branded login area where customers access courses, communities, and purchases.
16. Reviews and Reputation
- Go to Reputation, then Review Requests
- Configure when and how to ask for reviews — SMS or email
- Set which directory — Google, Facebook, Yelp
- GHL sends the request automatically based on your trigger
- Review responses come back to your dashboard
Connect review requests to workflows: when a deal closes, auto-send a review request. Simple trigger, big impact on your local SEO over time.
Where to Go From Here
The platform is deep. If you are a beginner, this is the priority order that works:
- Set up your account — branding, email, phone number
- Import or add your contacts — the CRM is empty without data
- Create a pipeline — track deals from lead to close
- Build one workflow — automate a single repetitive task
- Set up a scheduling link — get meetings booked without the back-and-forth
- Run an email campaign — get your first message out to a segment
Get those six working first. Then explore funnels, communities, courses, and the AI features as you grow. Trying to set everything up at once is how people burn out on the platform.
Screenshots from GoHighLevel for Beginners 2026 walkthrough. Platform version as of September 2026.